Master The Basics
Set Up Your Tablet
Revolutionise how you operate your business with a new, state-of-the-art handheld device. Once the machine is up and running, you can quickly discover exactly what you can do with the Business Application.
1
If your tablet has no battery, plug in the charger on the right-hand side and wait until the tablet turns itself on. If the tablet is charged, turn on the tablet by pressing the power button on the left-hand side.
2
To connect your tablet to a Wi-Fi network, go to the settings page.
3
Choose the network that you want to connect your tablet to and type in the correct password.
4
You should now be ready to use Quandoo’s Business Application.
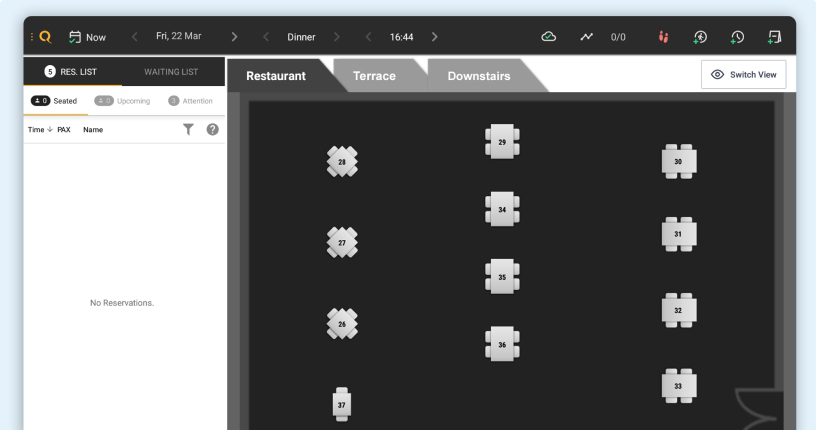
Access Table Plan Overview
With the Business Application, you can maintain up-to-date floor plans that all team members can view at a glance. Here are some of the system’s key icons:

Show an up-to-date/live table plan

Your device is connected to a Wi-Fi network

Add a walk-in

Check out customers

Add a reservation

An empty table

A table where guests are seated

A table that has been reserved

A reservation that is running late

Guests that have stayed longer than anticipated at their table
Welcome Walk-Ins
As well as enabling you to strategically seat pre-booked reservations, the Business Application – by allowing you to add walk-ins to your system – offers you the chance to potentially turn a spontaneous diner into a returning customer.
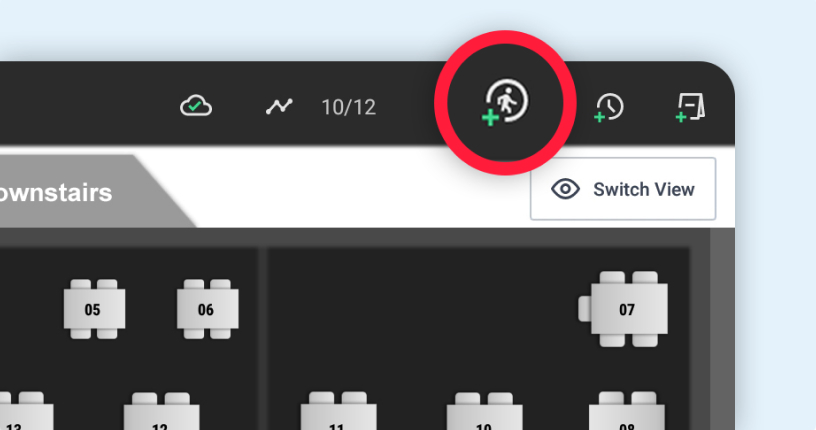
1
Click on the walk-in icon.
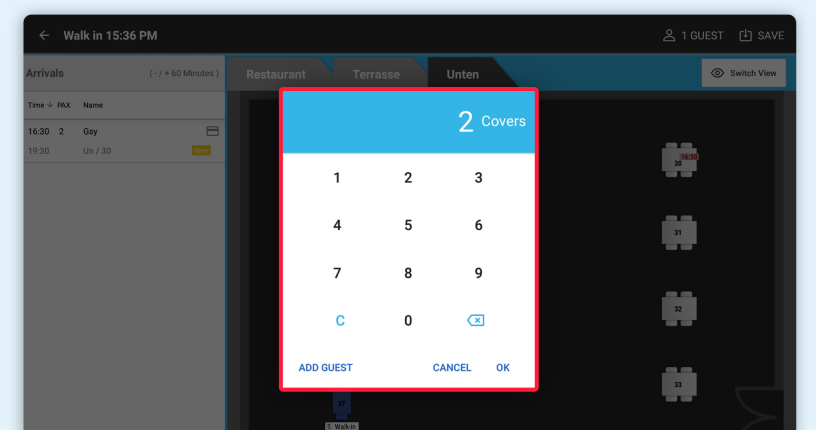
2
Select the number of people a table is needed for and click ‘OK’.
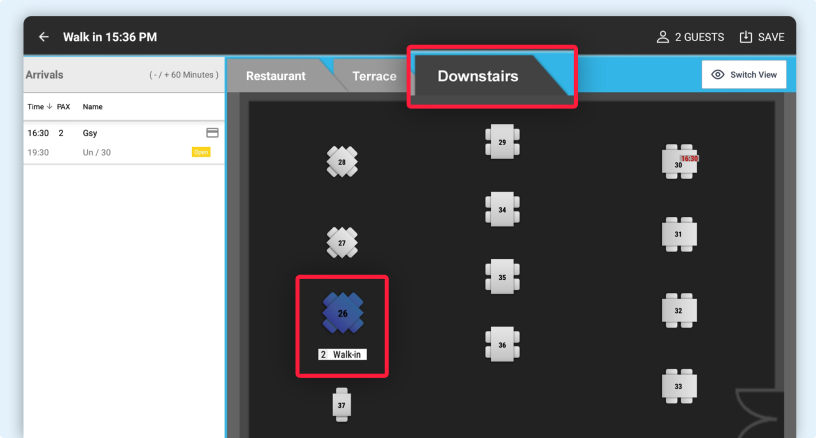
3
Select where you would like to seat the dining party.
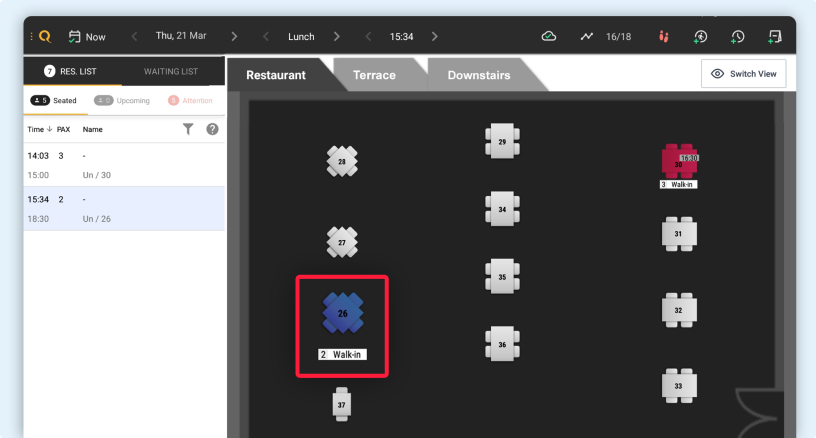
4
Your seated walk-ins will now appear on your table plan.
Create A Reservation
With the Business Application, you can seamlessly add reservations to your system. Simply gather up all of the key pieces of information, and then input them directly into the designated fields.
1
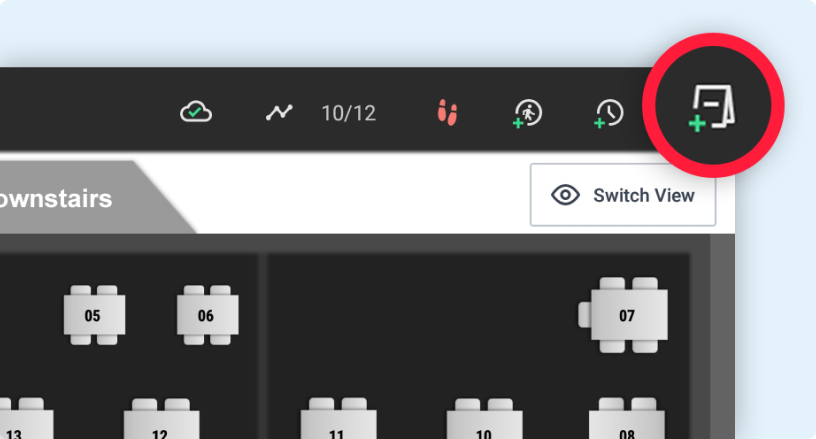
Click on the reservation button in the top right-hand corner.
2
Select the date the reservation is scheduled for.

3
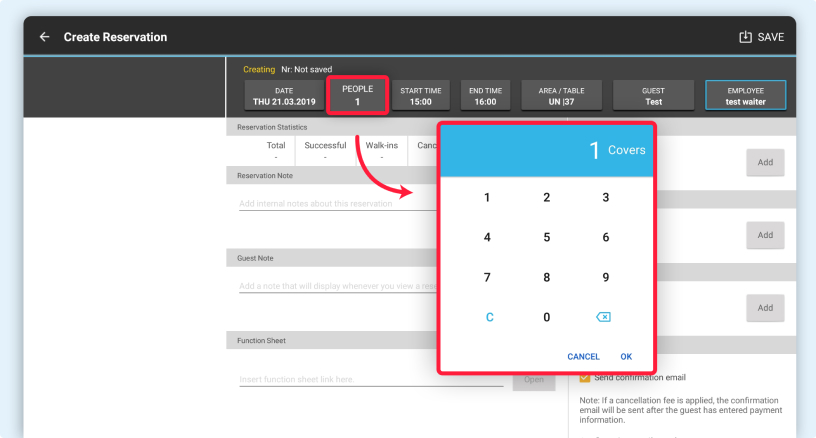
Select the amount of people.
4
Select the time.

5
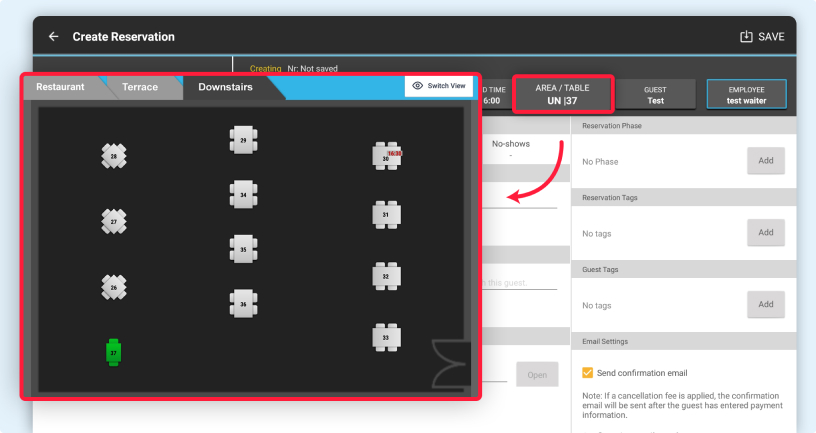
Choose a table that you would like to sit the diners at.
6
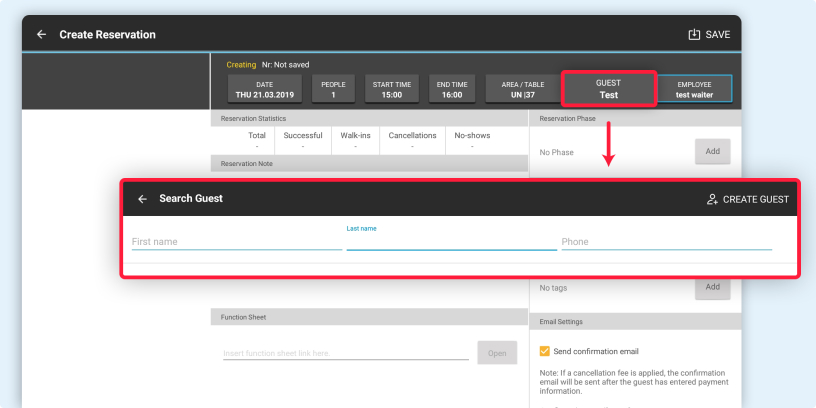
Click on the ‘Guest’ tab and either select an existing contact or create a new guest profile.
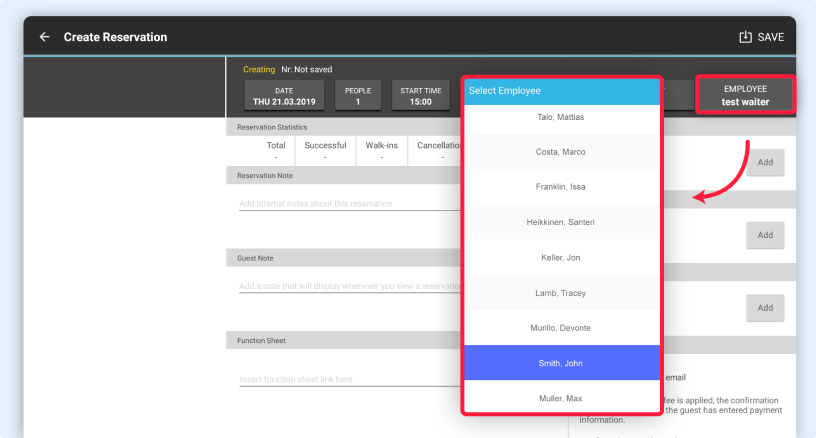
7
Confirm the name of the employee who is adding the reservation to the system, and then click ‘Save’.
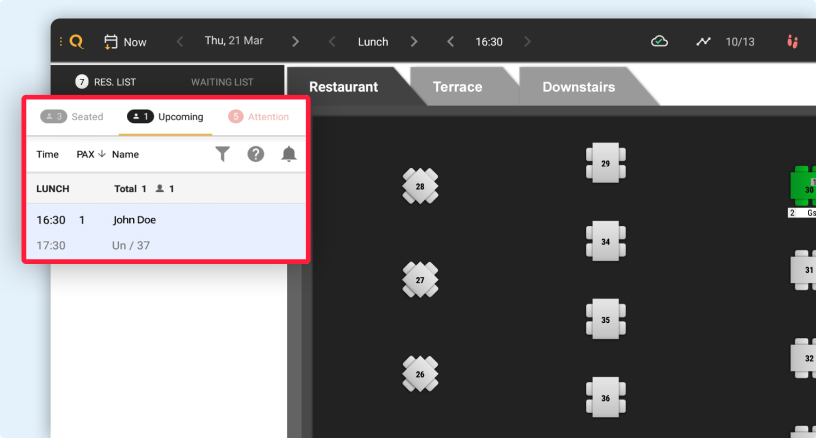
8
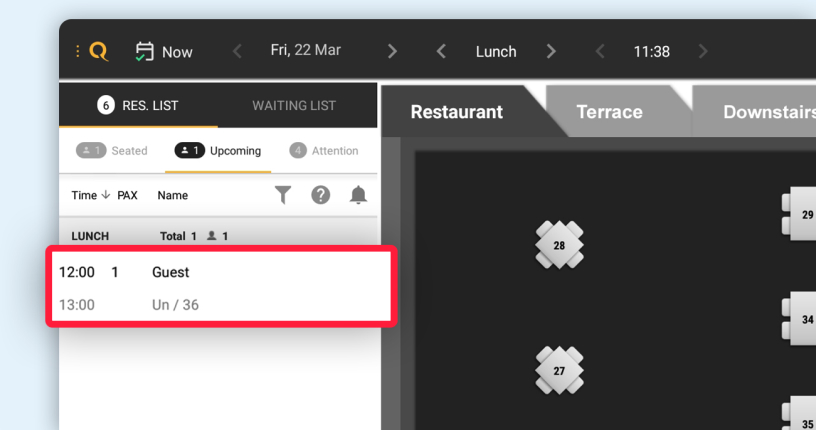
The details of the reservation can now be found next to the table plan.
Check In Guests
Offer your diners the warmest of welcomes in person, and then use the Business Application to confirm their arrival in just a matter of seconds.
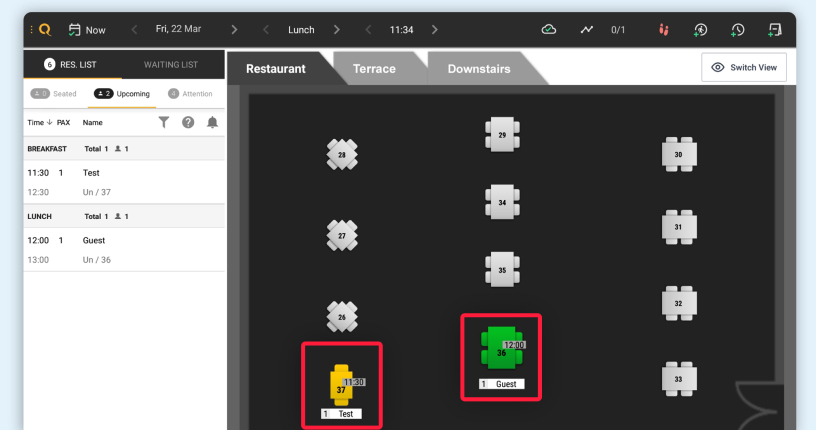
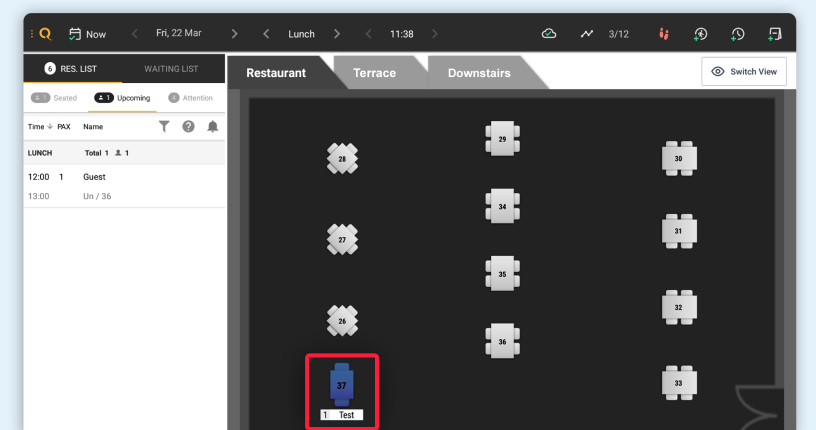
1
On your table plan, click on either a green or yellow table.
2
Click on the footprint icon.
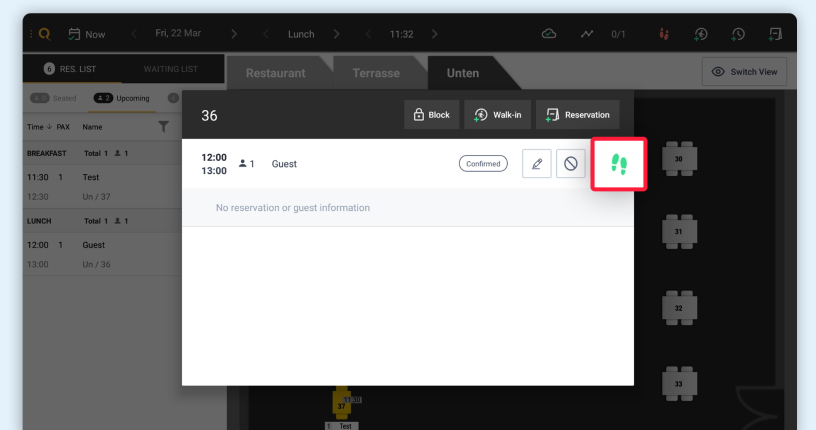
3
Your guests are now checked in.
or
1
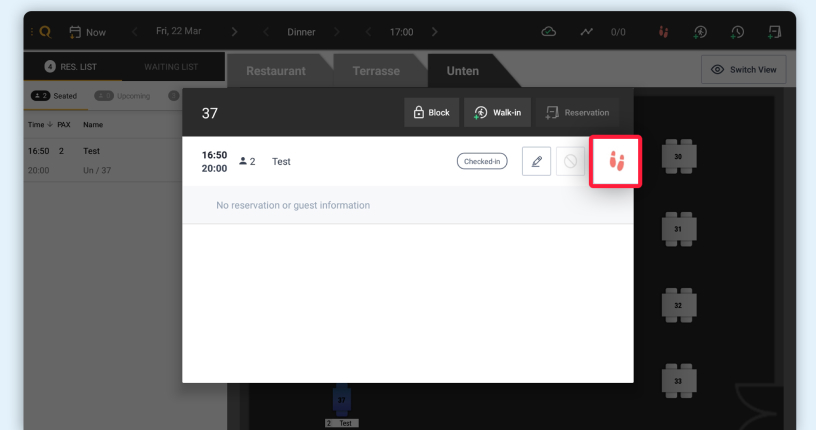
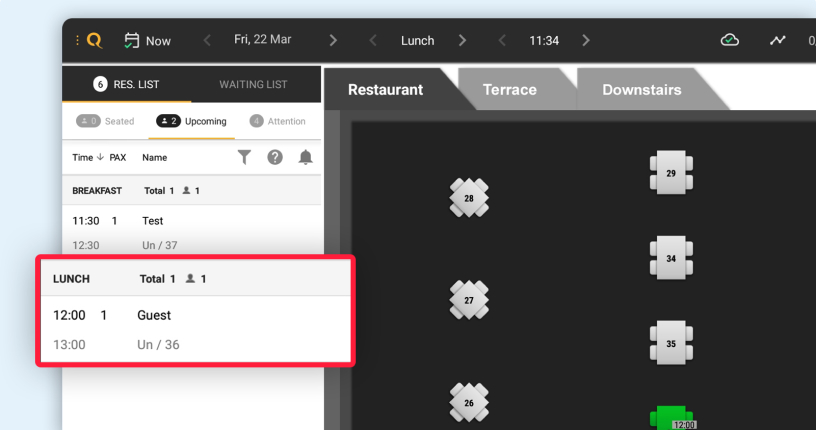
Double-click the reservation in the list on the left-hand side of the screen.
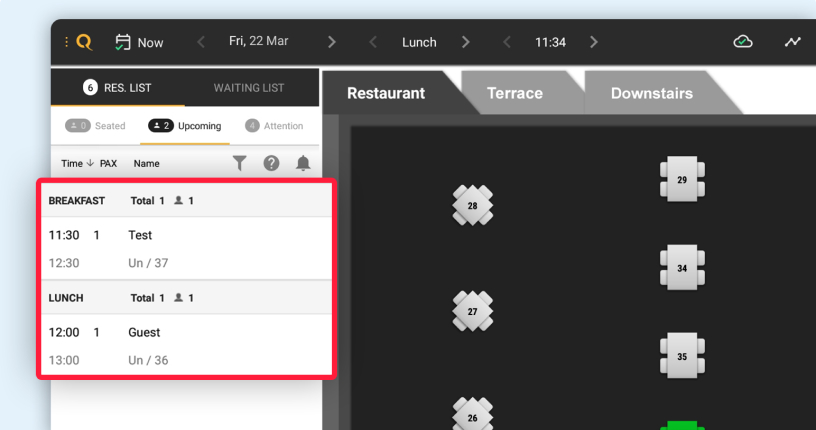
2
Click on the set of footprints in the top right-hand corner.
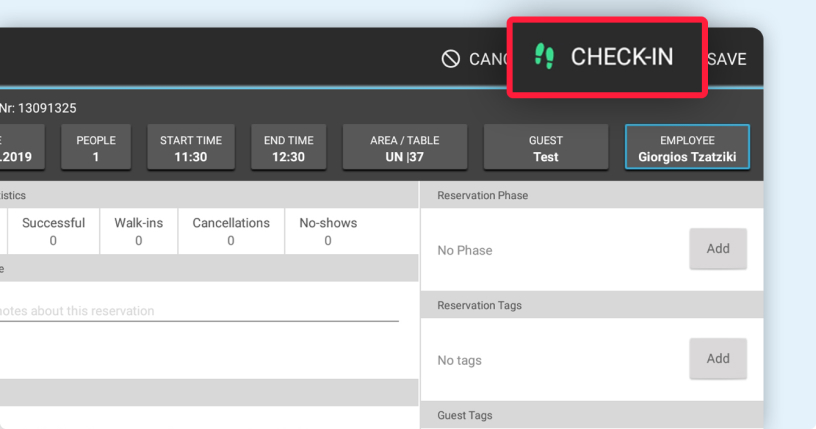
3
Your guests are now checked in.

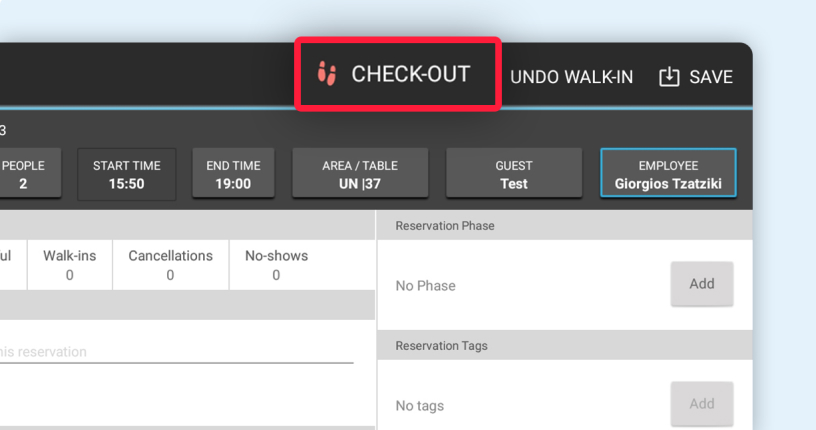
Check Out Guests
Once a dining party has finished their meal and paid their bill, you can use the Business Application to confirm their departure.
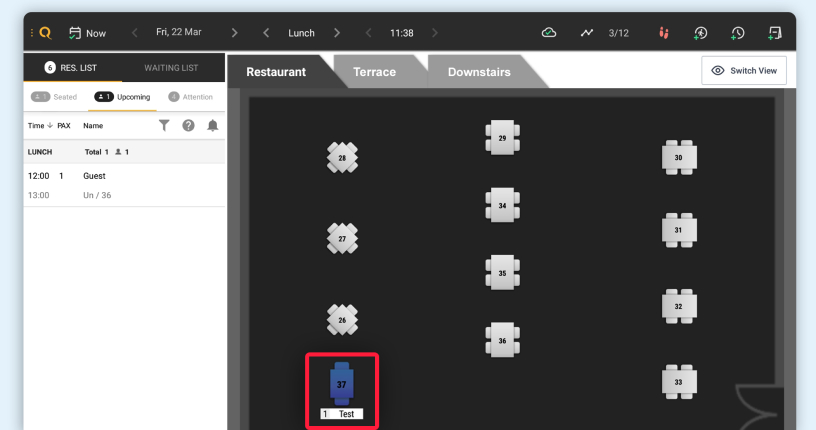
1
Click on the blue table the diners were seated at.
2
Click on the footprint icon.
3
Your guests are now checked out.
or
1
Double-click the reservation in the list on the left-hand side of the screen.
2
Click on the set of footprints in the top right-hand corner.
3
Your guests are now checked out.

Mark Cancellations & No-Shows
Use the Business Application to swiftly register cancelled bookings and no-shows, and quickly turn your attention to seating new dining parties at open tables.
1
Click on a green or yellow table.
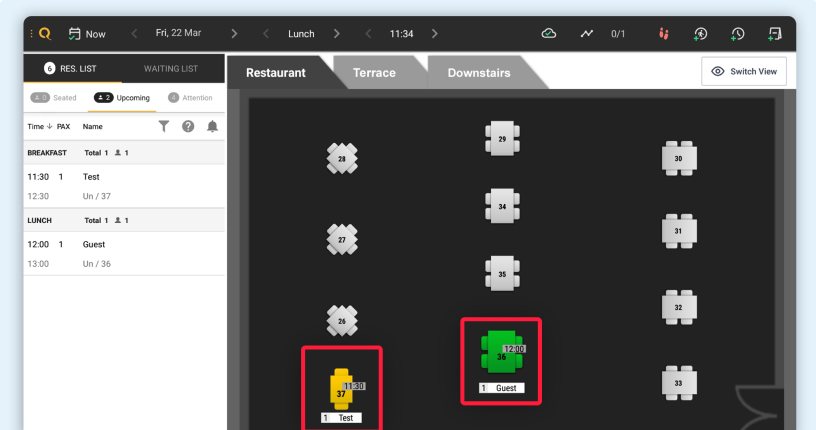
2
Click the cancel icon.
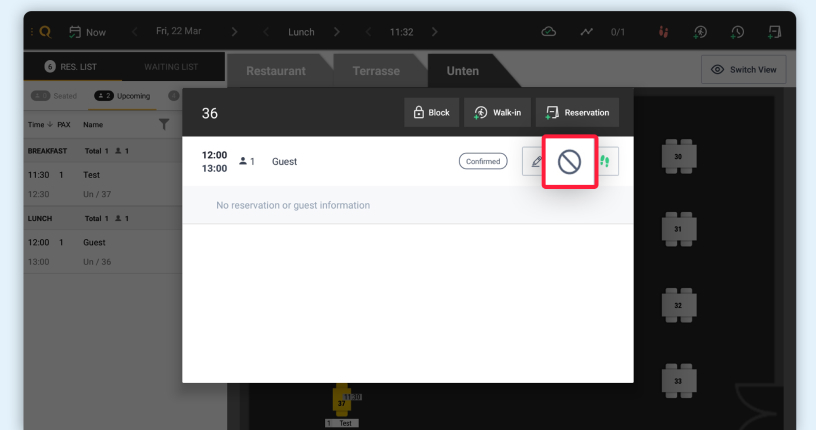
3
Choose whether you want to cancel the reservation (a cancellation email will be sent out) or set it as a no-show.
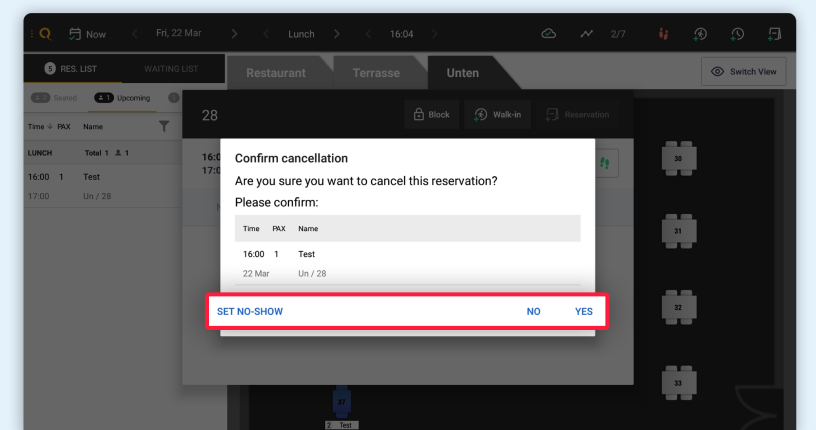
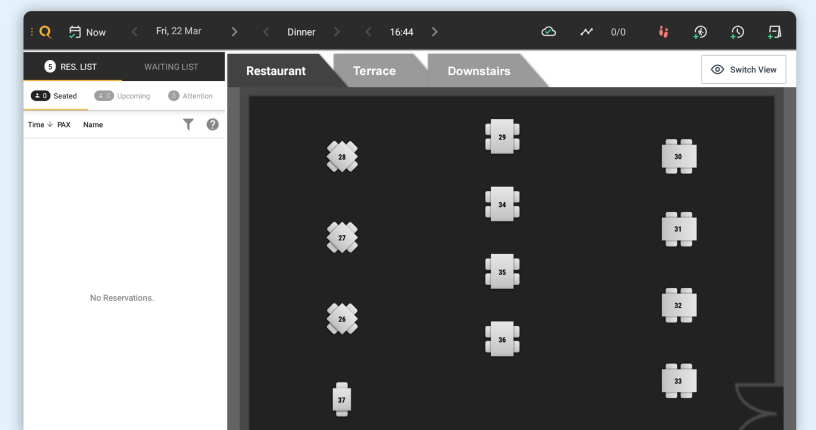
4
The reservation will now be removed from your table plan.
or
1
Double-click the reservation in the list on the left-hand side of the screen.
2
Click the cancel icon in the top right-hand corner.
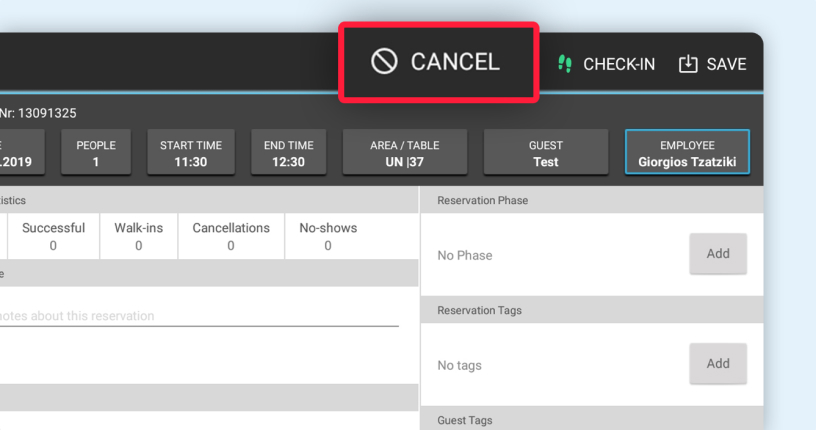
3
Choose whether you want to cancel the reservation (a cancellation email will be sent out) or set it as a no-show.

4
The reservation will now be removed from your table plan.
