Mark No-Shows
No-shows can have a detrimental effect on any business in the hospitality industry. Thankfully, you can use the Business Center to register no-shows in a timely fashion.
1
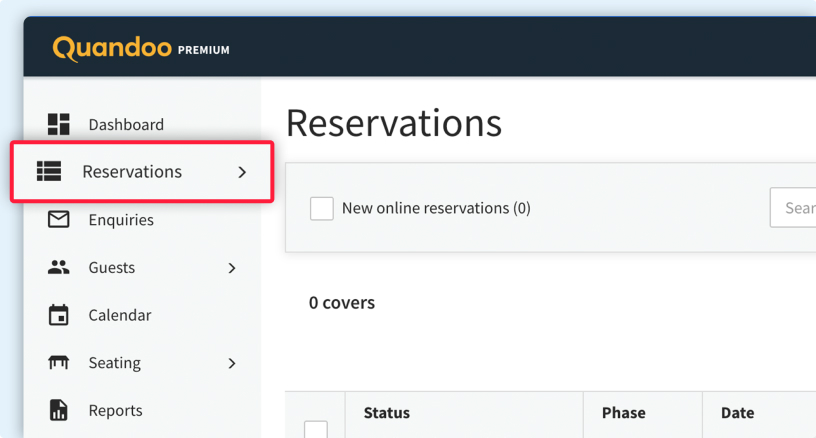
Go to ‘Reservations’ in the menu on the left-hand side of the screen.

2
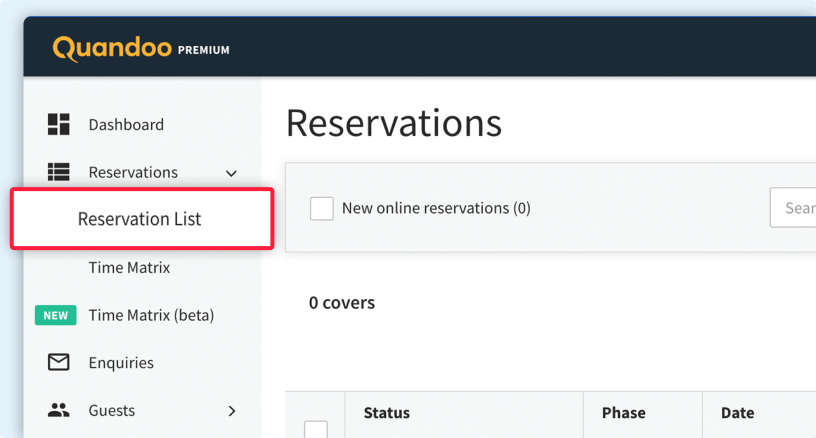
Select ‘Reservation List’.

3
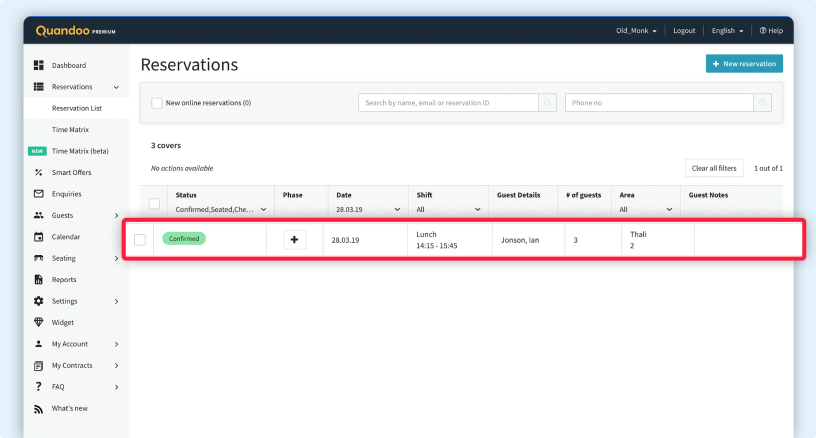
In the ‘Date’ column, click on ‘Upcoming’ and select the relevant date.

4
In the resulting list, you’ll see all of the reservations scheduled for the chosen date. Select the reservation you wish to mark as a no-show.

5
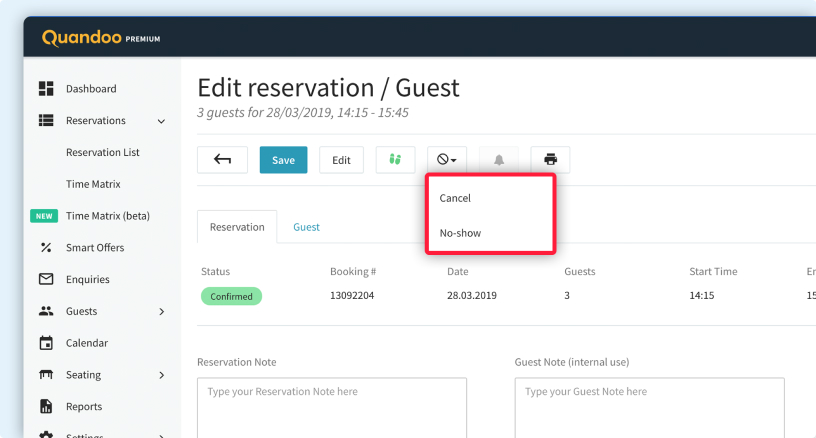
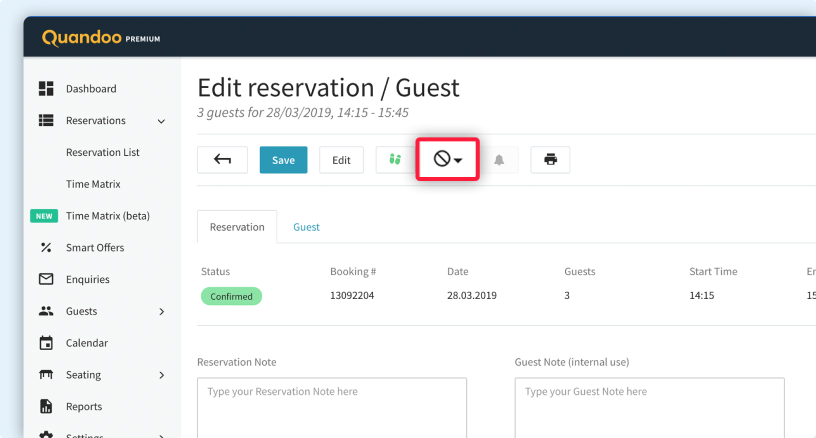
Click on the cancel/no-show icon.

6
Select the option ‘No-show’.
Cancel Reservations
Cancelled table reservations are unfortunately a massive pain point for restaurants and cafes. With the Business Center, you can remain calm during a busy shift by easily registering cancellations.
1
Go to ‘Reservations’ in the menu on the left-hand side of the screen.
2
Select ‘Reservation List’.
3
In the ‘Date’ column, click on ‘Upcoming’ and select the relevant date.

4
In the resulting list, you’ll see all of the reservations scheduled for the chosen date. Select the reservation you would like to cancel.
5
Click on the cancel/no-show icon.
6
Select the option ‘Cancel’.

Amend Guest Counts
There are times when dining out parties either don’t show up in their entirety, or arrive with more people than expected. The Business Center enables you to take last-minute changes* in your stride with little to no disruption for guests.
1
Go to ‘Reservations’ in the menu on the left-hand side of the screen.

2
Select ‘Reservation List’.

3
In the ‘Date’ column, click on ‘Upcoming’ and select the date that the reservation in question is on.

4
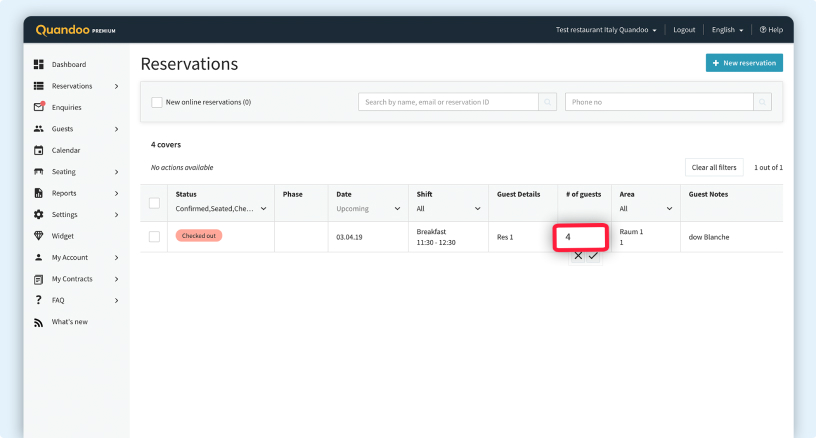
Click on the pencil icon.

5
Enter the correct number of guests and click the tick icon.
6
The details of the reservation have now been updated.

Pause Reservations
Need to close your restaurant at short notice, or briefly suspend the reservation process because you’re already fully booked? With the Business Center, you can notify diners of any unplanned closures or pauses in service.
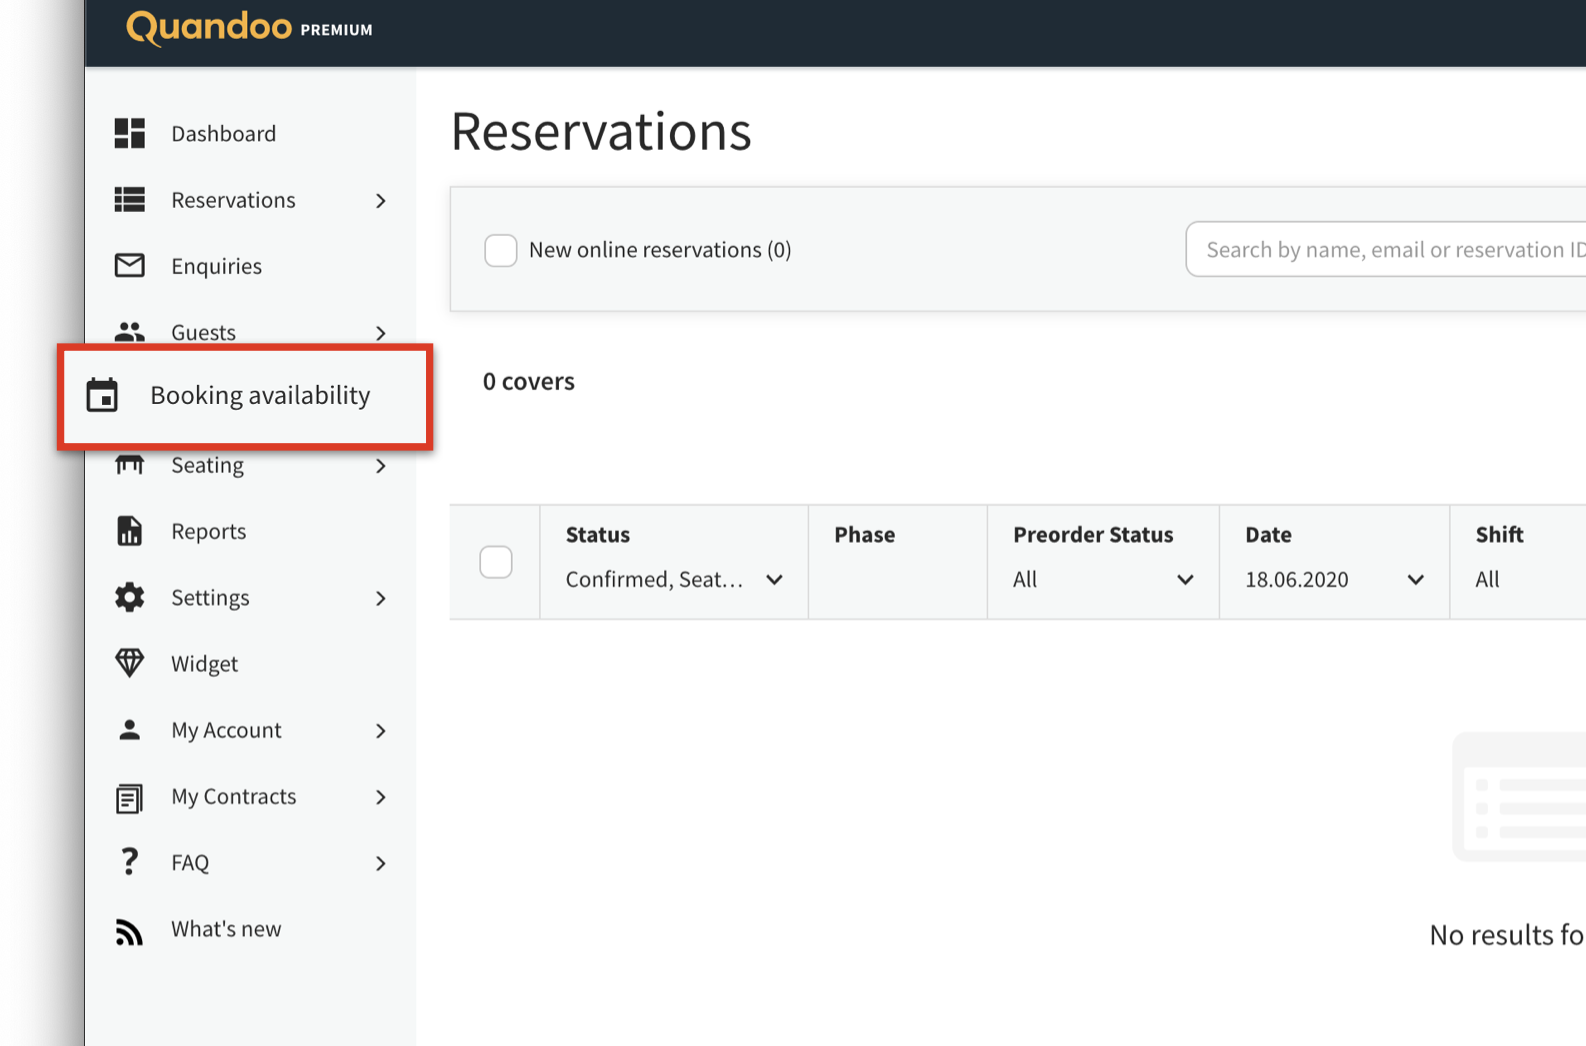
1
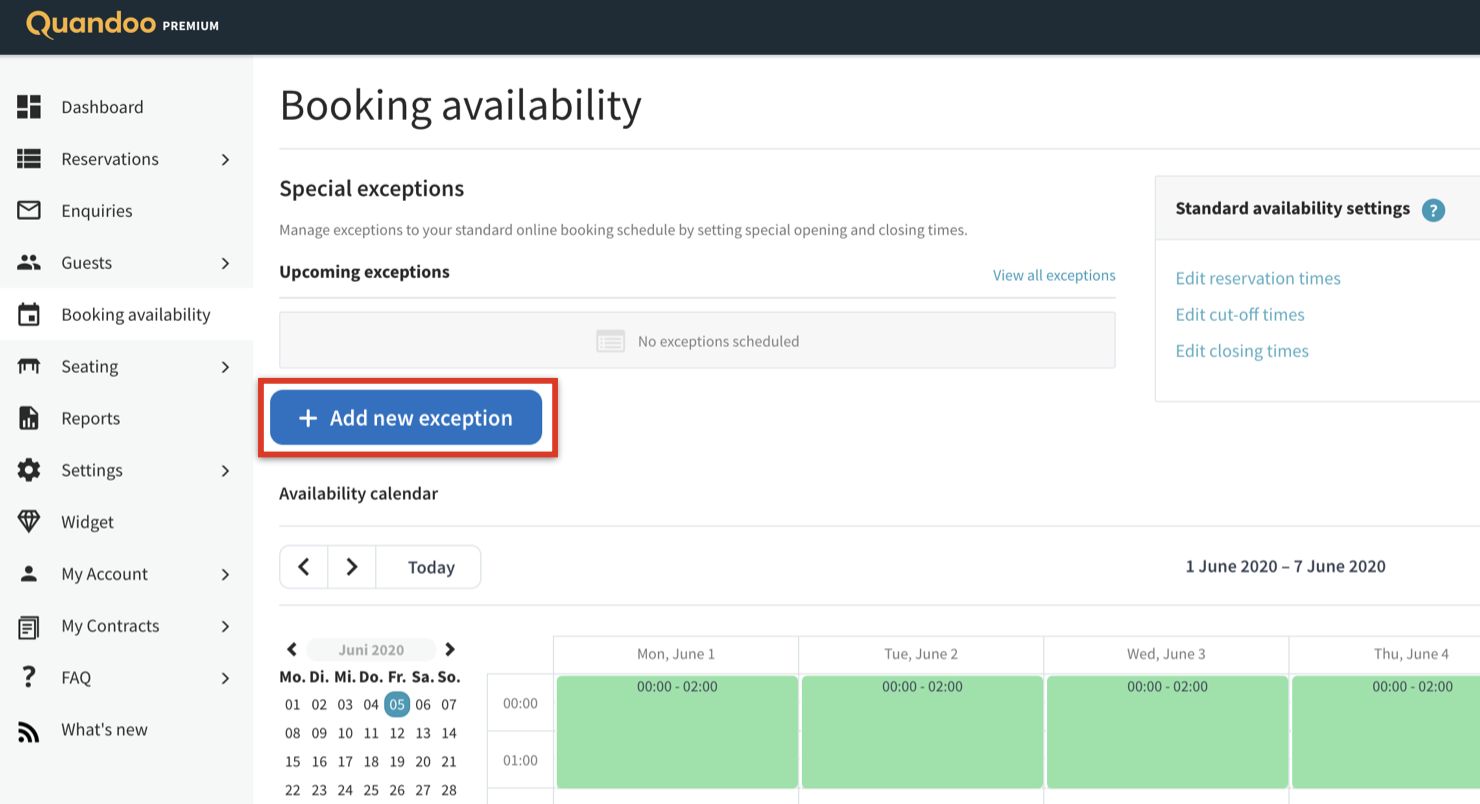
Go to ‘Booking Availability’ in the menu on the left-hand side of the screen.
2
Click on ‘Add new exception’
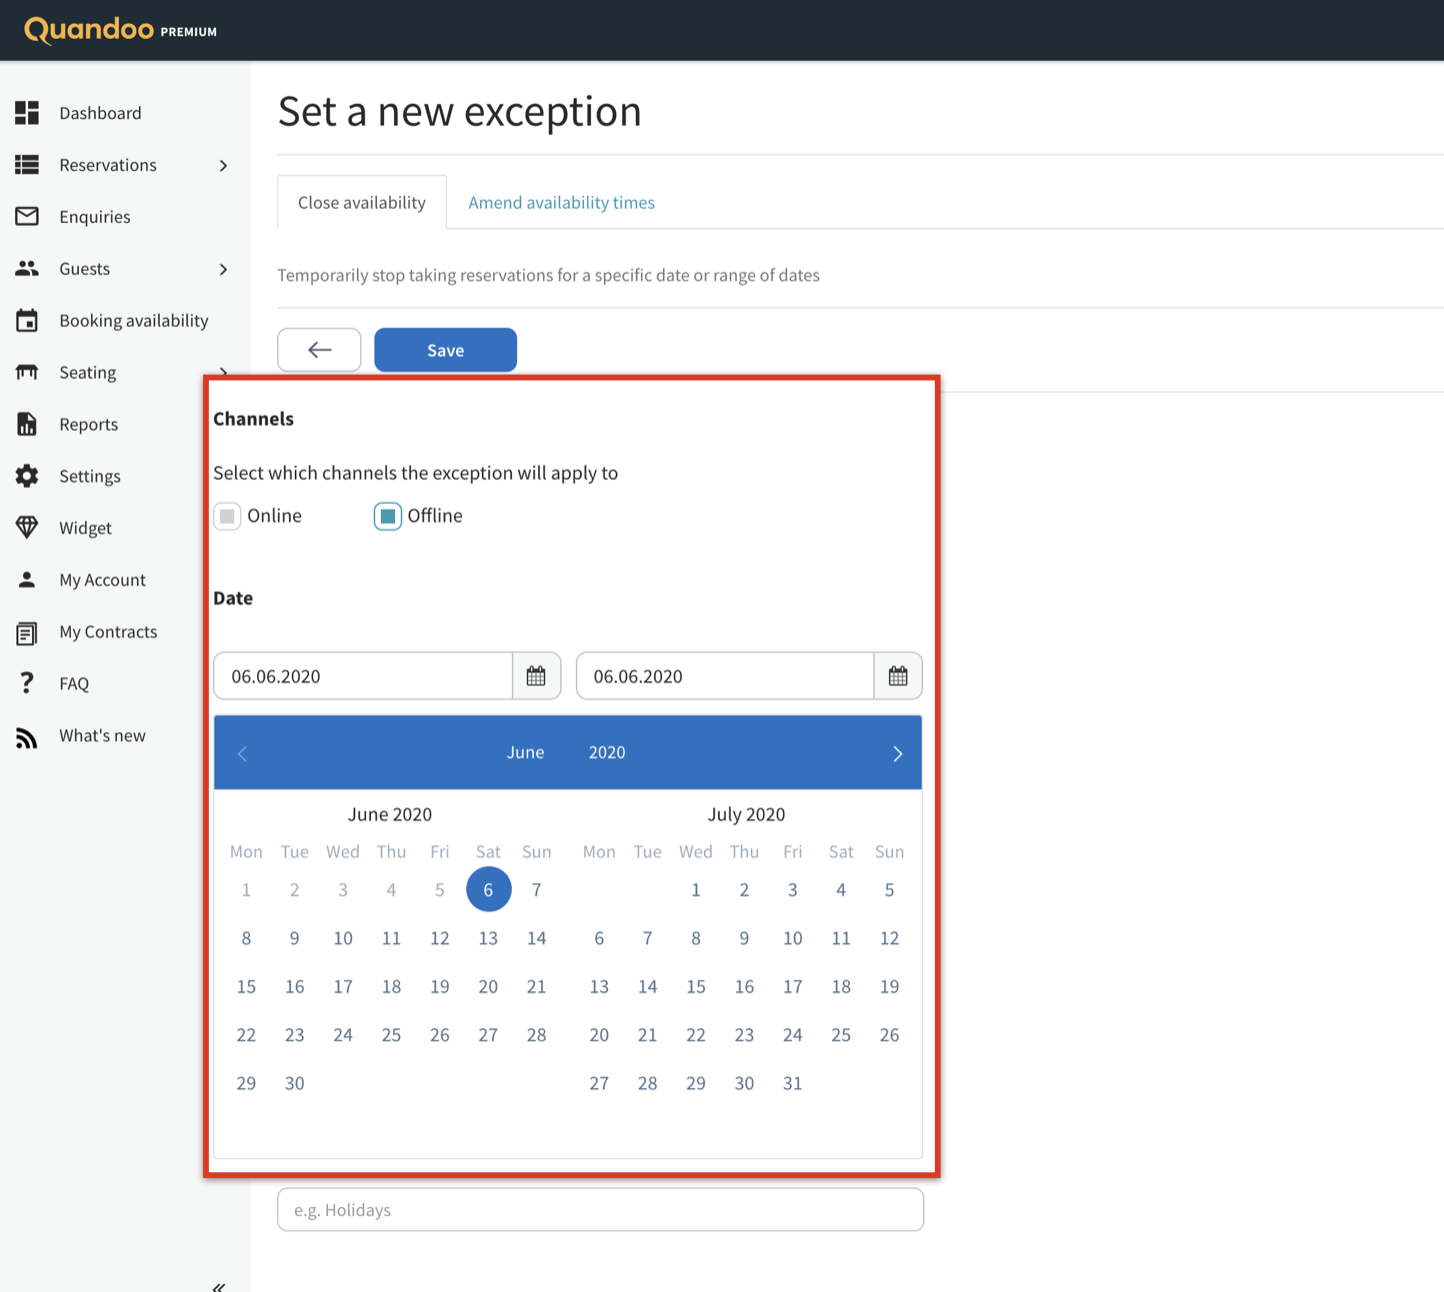
3
Select the desired channel(s) and date, and then click ‘Save’. You can also choose to add a note if you wish before saving your changes.
Adjust Opening Hours
Whether you wish to open your venue’s doors for a special event or keep your premises open for longer during the summer, you can use the Business Center to communicate new opening times to diners.
1
Go to ‘Booking Availability’ in the menu on the left-hand side of the screen.
2
Click on ‘Add New’
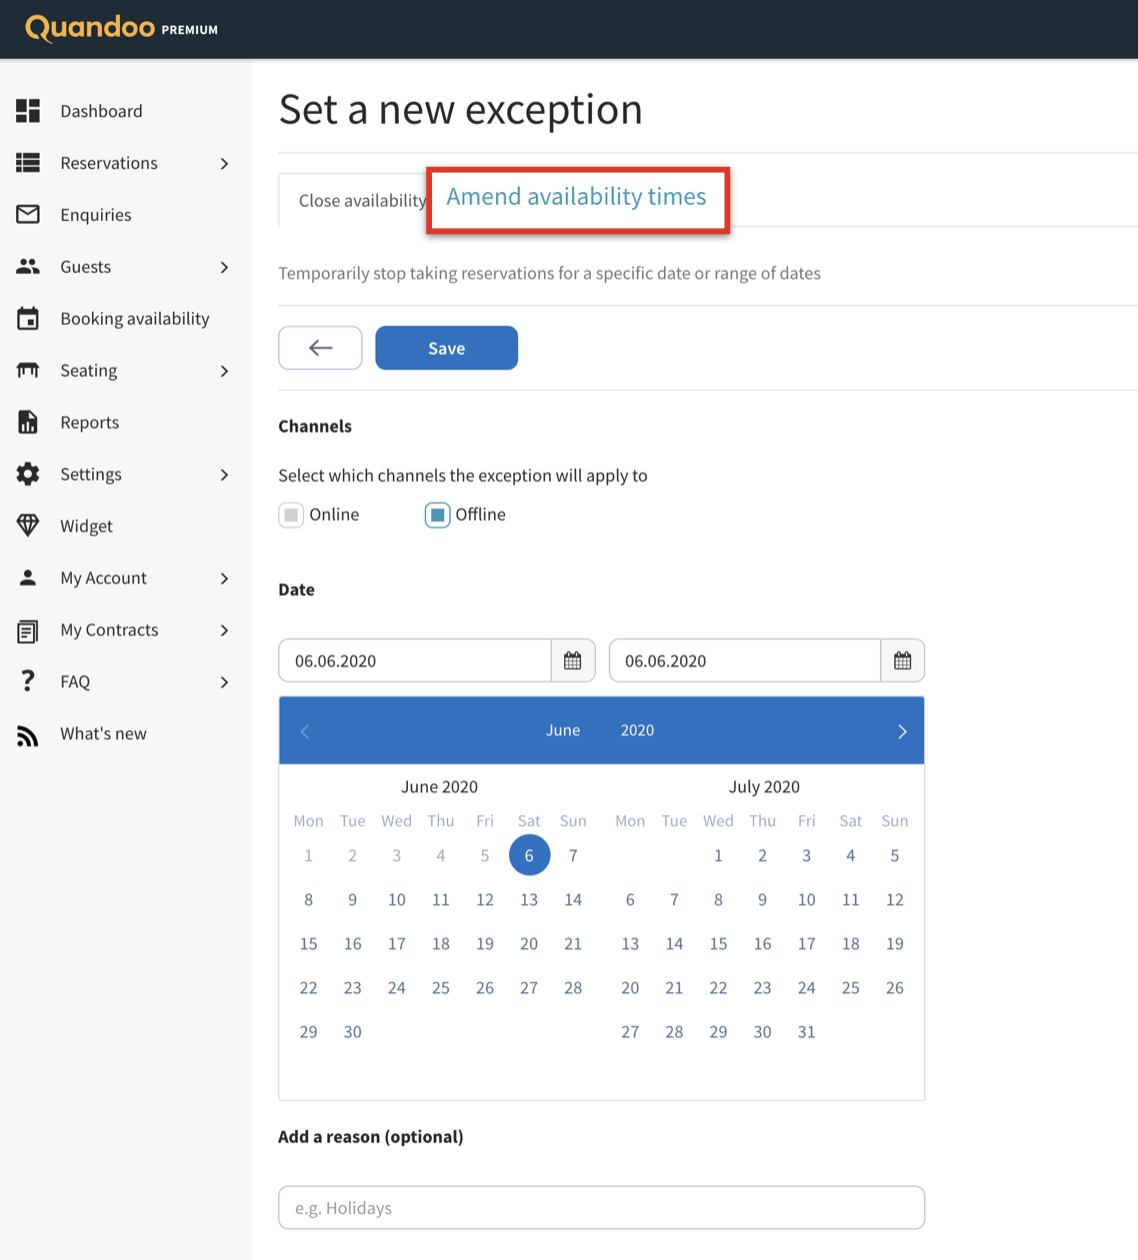
3
Select "Amend availability times"
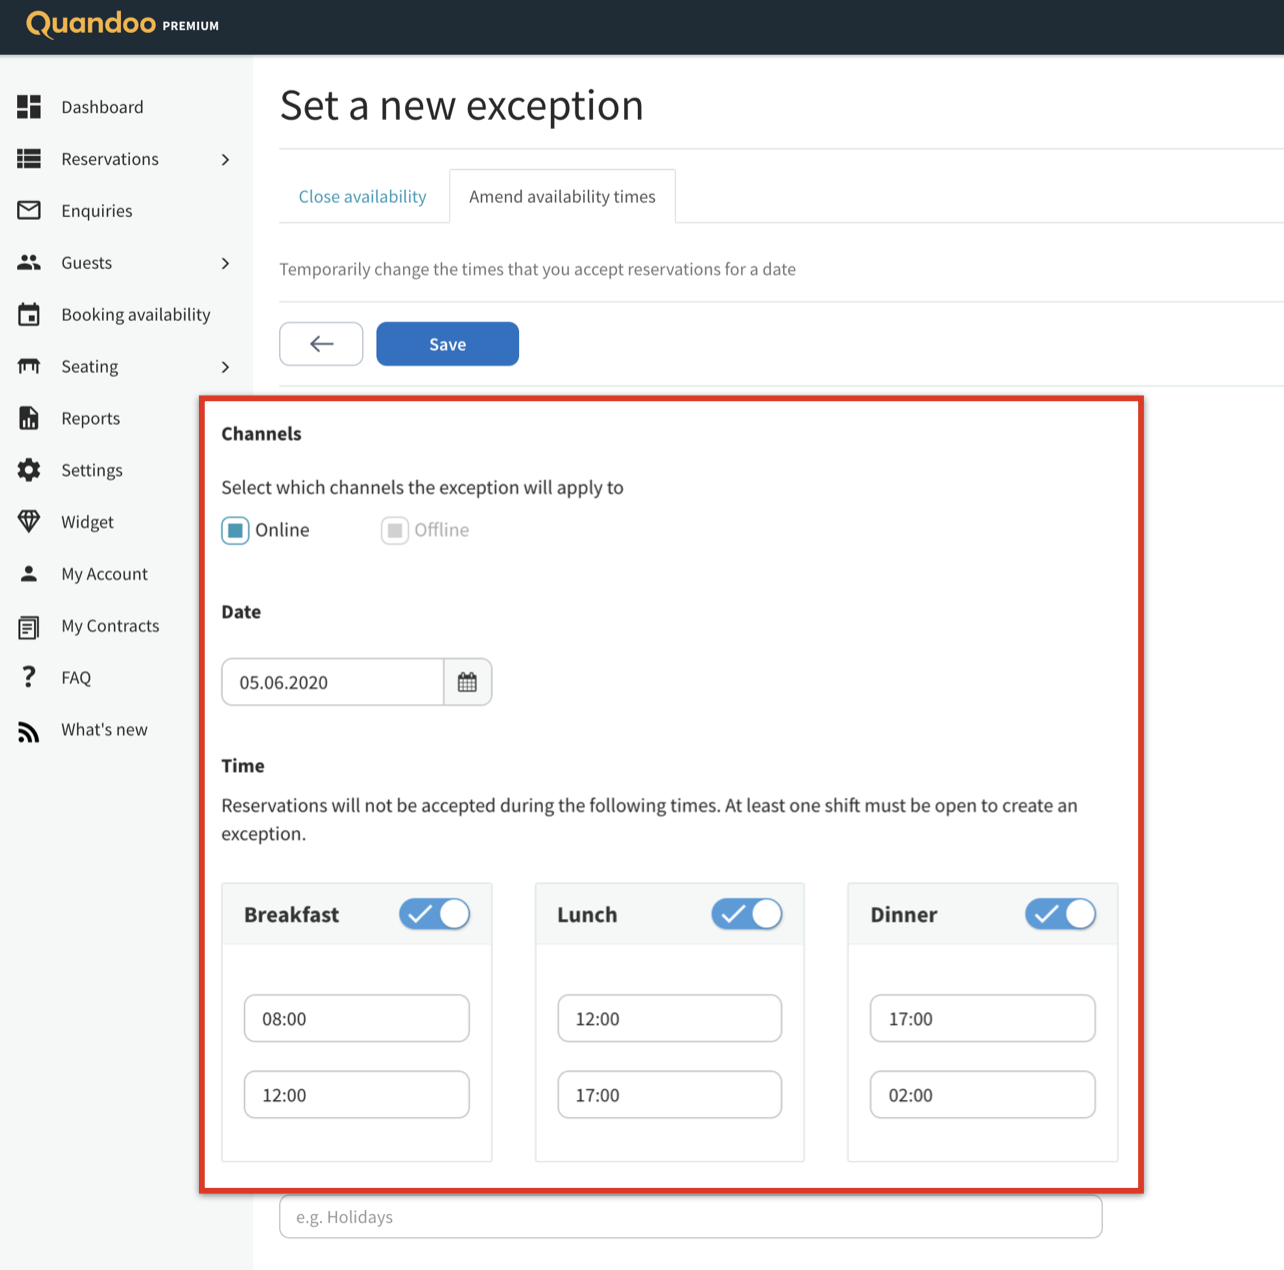
4
Input the required information for your desired change and click ‘Save’.
5
Your new opening times will now appear in the booking availability overview.
Upload New Menus
It’s time to showcase the skills of your kitchen team! Add your latest food and drinks menus* to your profile and entice more guests to visit your venue for a memorable dining out experience.
1
Go to ‘Settings’ in the menu on the left-hand side of the screen.
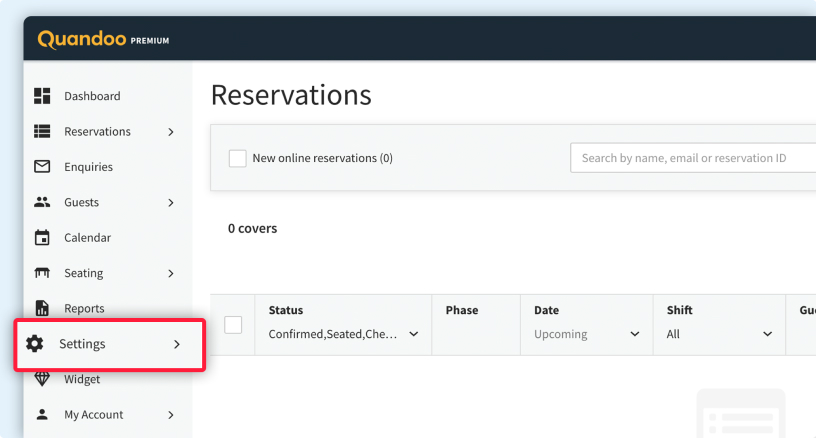
2
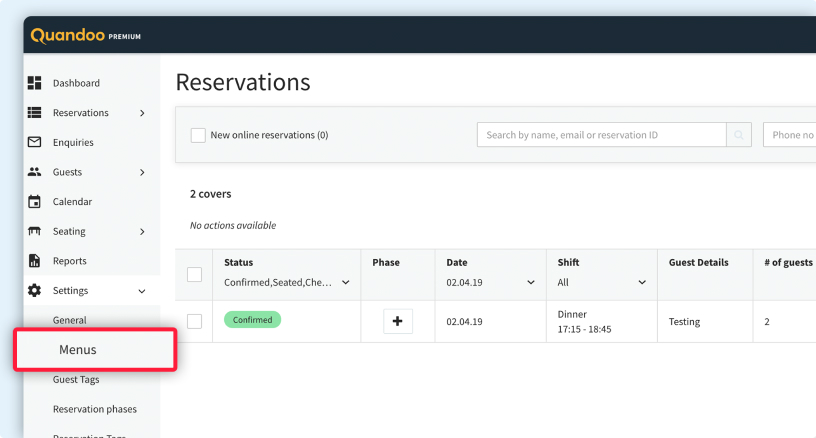
Select ‘Menus’.
3
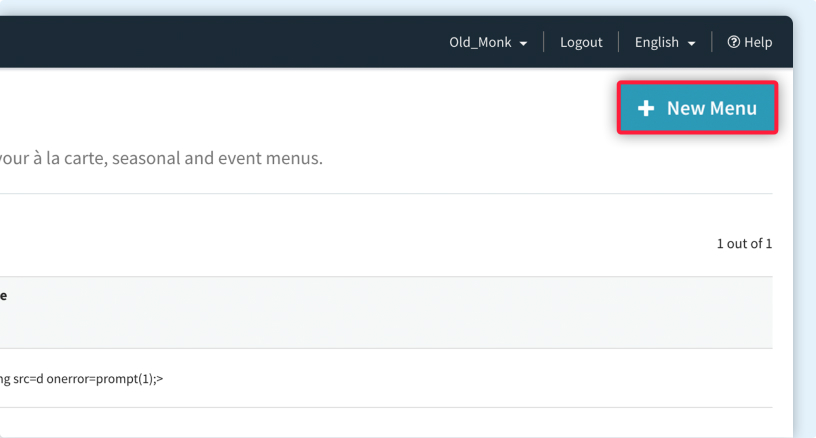
In the top right-hand corner, click on ‘+ New Menu’.
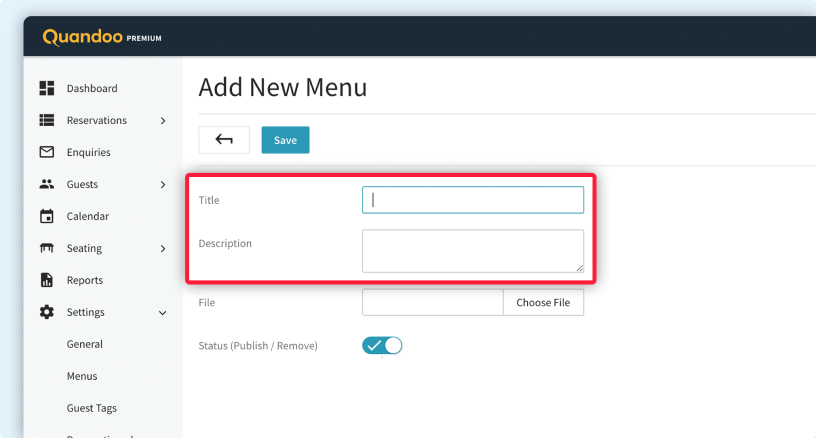
4
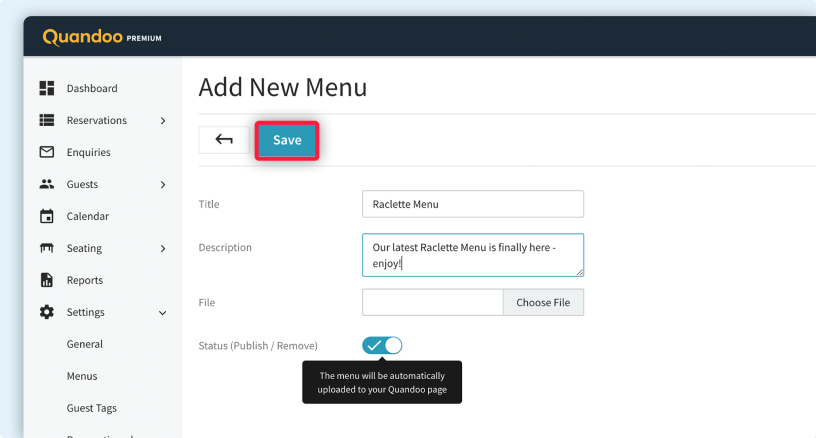
Enter a title and a description for the menu.
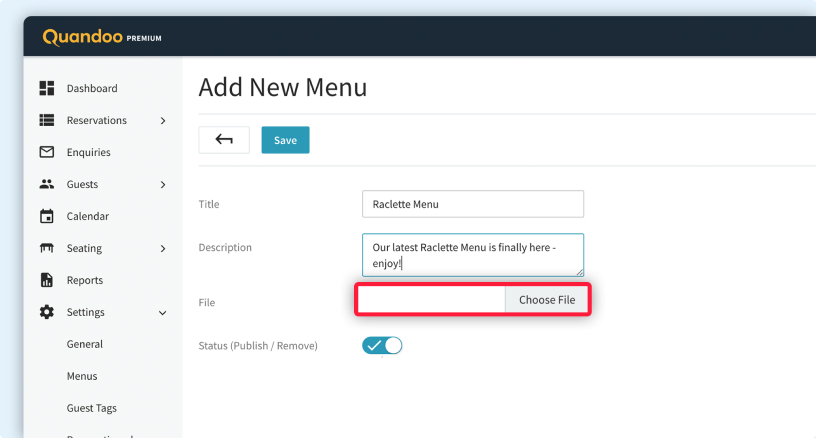
5
Click on ‘Choose File’ and upload the relevant document(s)**.
6
Hit ‘Save’.